In this Video Background Removal Tutorial, you’ll learn to extract subjects without a green screen by combining Adobe Premiere Pro and After Effects. Follow these clear steps to duplicate clips, apply the Roto Brush, and insert graphics or footage behind your main object for a professional finish.
Setting Up Your Project Workflow
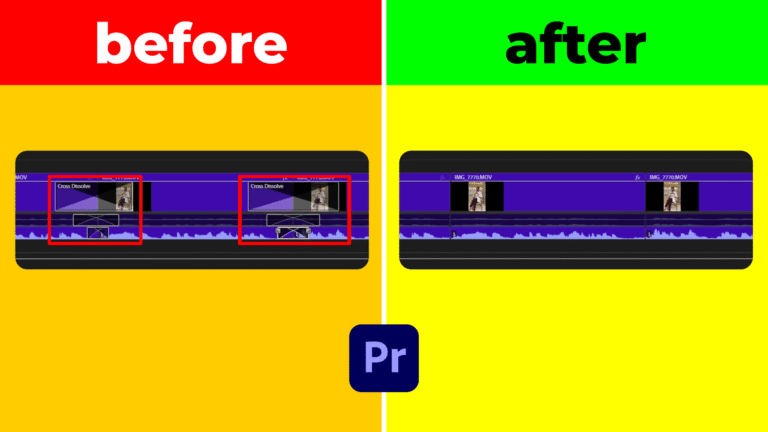
First, open your sequence in Premiere Pro and duplicate the clip you want to process. Right-click the clip, choose Copy, then right-click the timeline and select Paste. Next, disable the bottom layer via Enable. On the top layer, right-click and select Render and Replace to bake in a clean render. Finally, replace that clip with an After Effects composition by choosing Replace with After Effects Composition and saving the AE project in your project folder.

Video Background Removal Tutorial: Roto Brush Technique
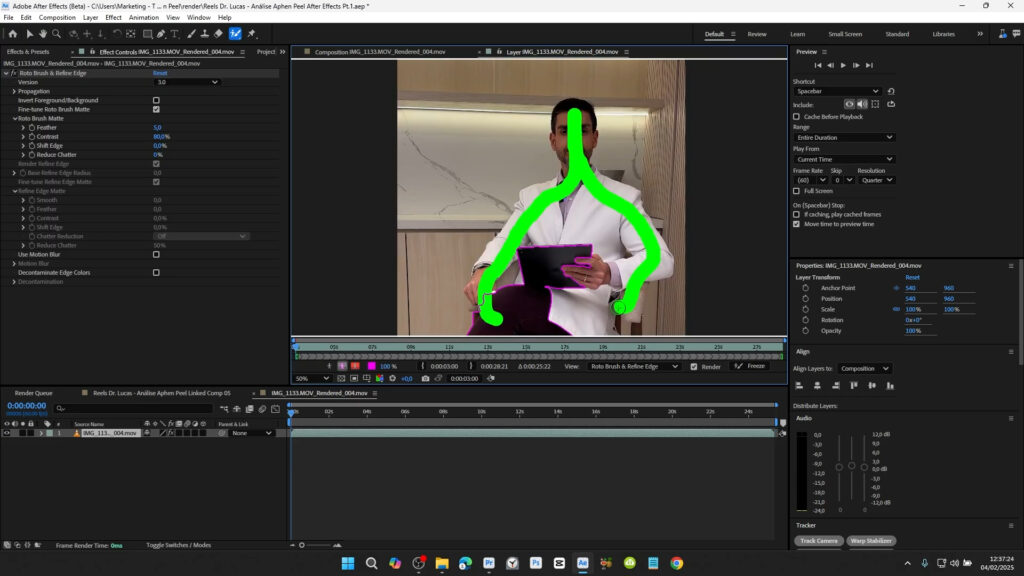
Switch to After Effects, open the new composition, and place the playhead at the first frame. Select the Roto Brush tool (Alt + W) and adjust the brush size with Ctrl + drag. Paint over your subject—green areas remain, red areas are removed. If stray parts appear, hold Alt to subtract. Once satisfied, click Freeze and allow After Effects to process the frames. This method gives you a precise alpha channel for video background removal.
Compositing and Element Insertion
Return to Premiere Pro and re-enable the original clip. Stack the AE composition above it in the timeline. Now you can drag logos, text, or video clips into the track between these layers. Because you’ve already masked out the background, any element you place will appear naturally behind your subject. For dynamic motion graphics, explore our Premiere Pro tutorials or our After Effects guides.
Tips for Faster Masking
- Use high-contrast footage for quicker edge detection.
- Work on shorter clips to reduce freeze-processing time.
- Trim your composition to the essential frames before freezing.
- Consult the official Adobe Roto Brush documentation for advanced controls.
Next Steps
Now that you’ve completed this Video Background Removal Tutorial, experiment with inserting 3D layers or applying color grading to match your elements seamlessly. Additionally, consider more motion graphics by browsing our category pages for Premiere Pro and After Effects tutorials. Finally, share your results and subscribe for future tips!