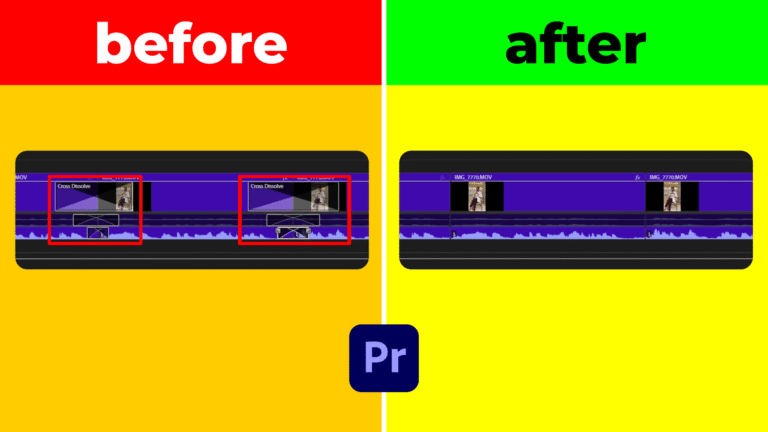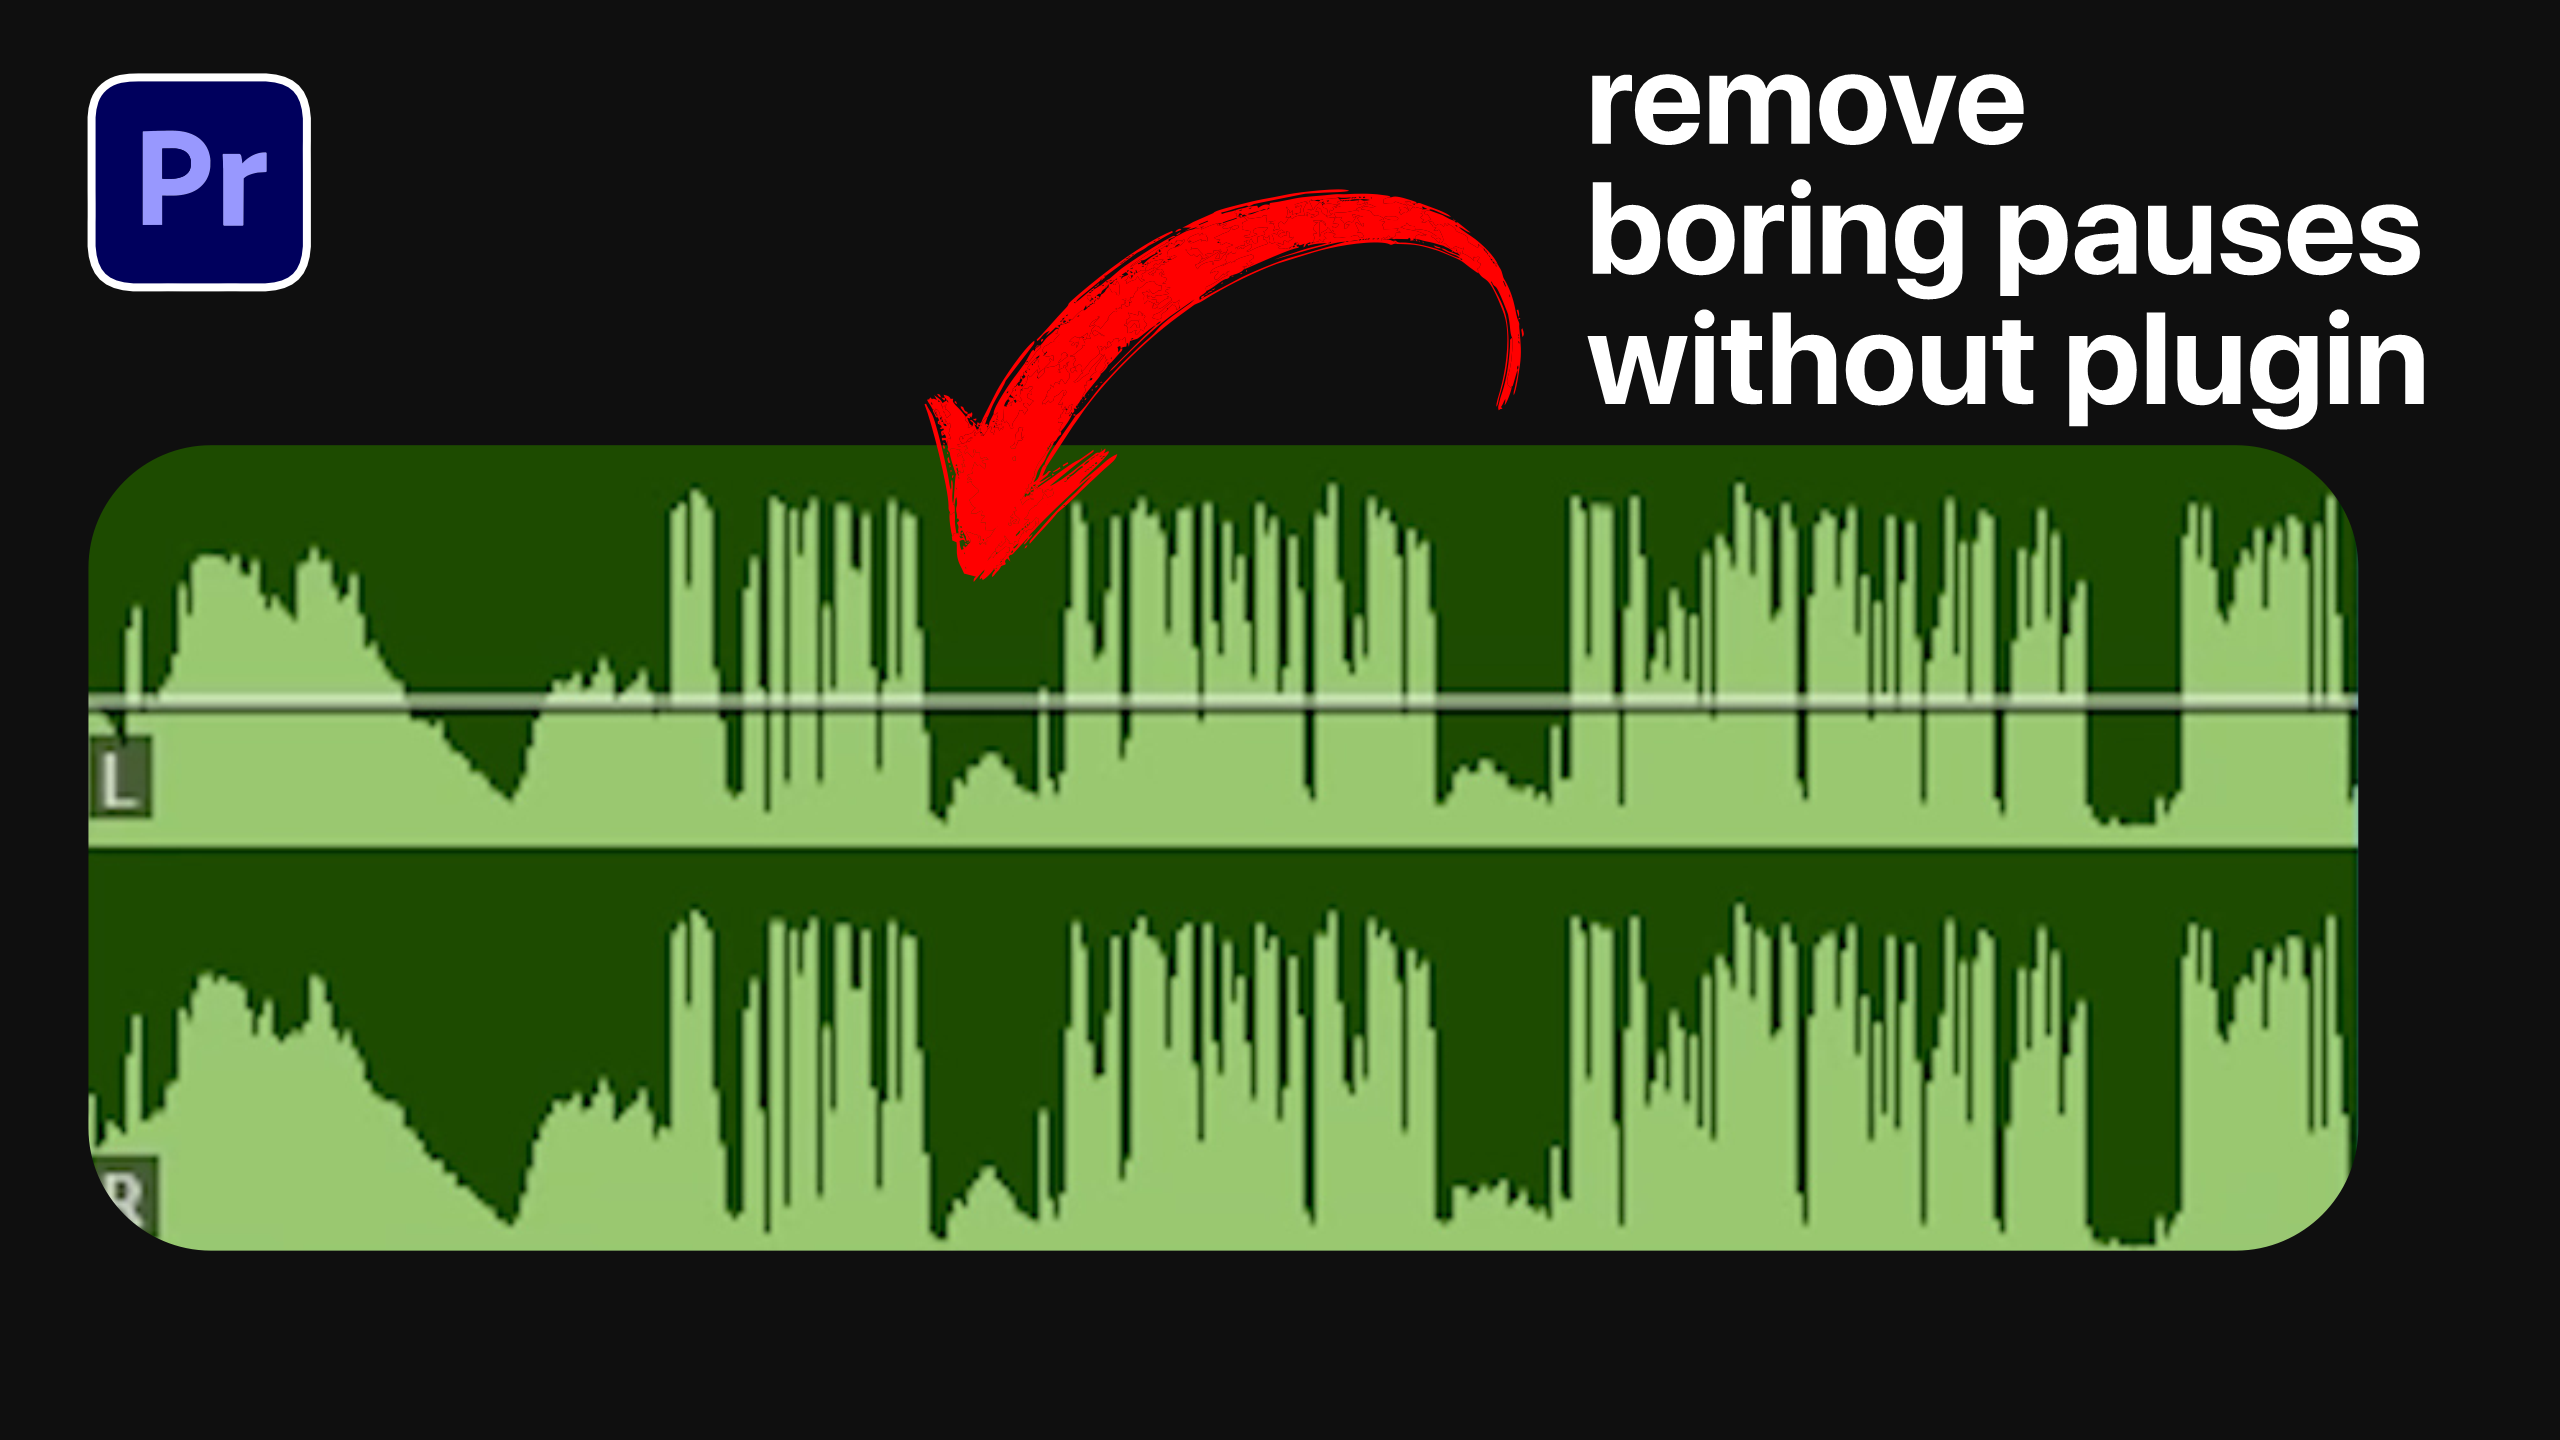
In this article, you will learn how to Remove Silences Premiere Pro automatically by leveraging Premiere Pro’s built-in transcription and silence-filter features. By following these steps, you can detect pauses in your audio clip, delete silence segments with one click, and achieve a continuous, professional-sounding result. This workflow uses the Text panel, transcript settings, and filters—all within Premiere Pro 2025.
1. Enable Auto-Transcription for Silence Removal
First, open Premiere Pro and navigate to Edit → Preferences → Media Analysis & Transcription. Ensure that “Automatically transcribe clips” is checked, and confirm that the transcription preference is set to “Auto-transcribe only clips in sequence.” These settings allow Premiere Pro to generate a transcript only for clips on your timeline. Once configured, you’re ready to Remove Silences Premiere Pro without extra manual work.
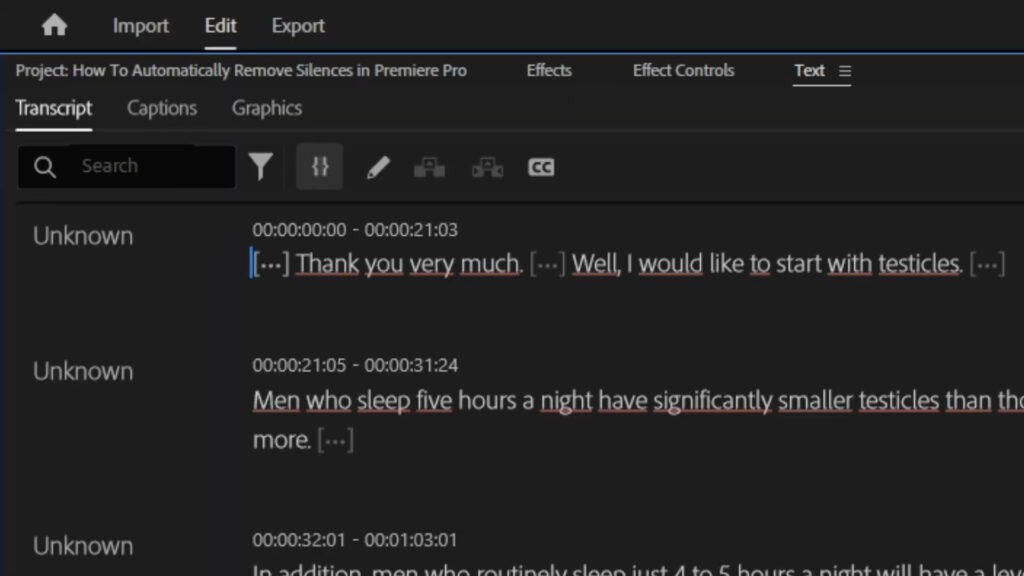
2. Transcribe the Clip in the Timeline
With your clip placed in the timeline, select it and switch to the Text panel. If you do not see this panel, go to Window → Text to enable it. Within the Text panel, click the Transcript tab. Premiere Pro will display the auto-generated transcript of your clip, including all spoken words and detected pauses. This transcript is the foundation for silence filtering and is essential to Remove Silences Premiere Pro.
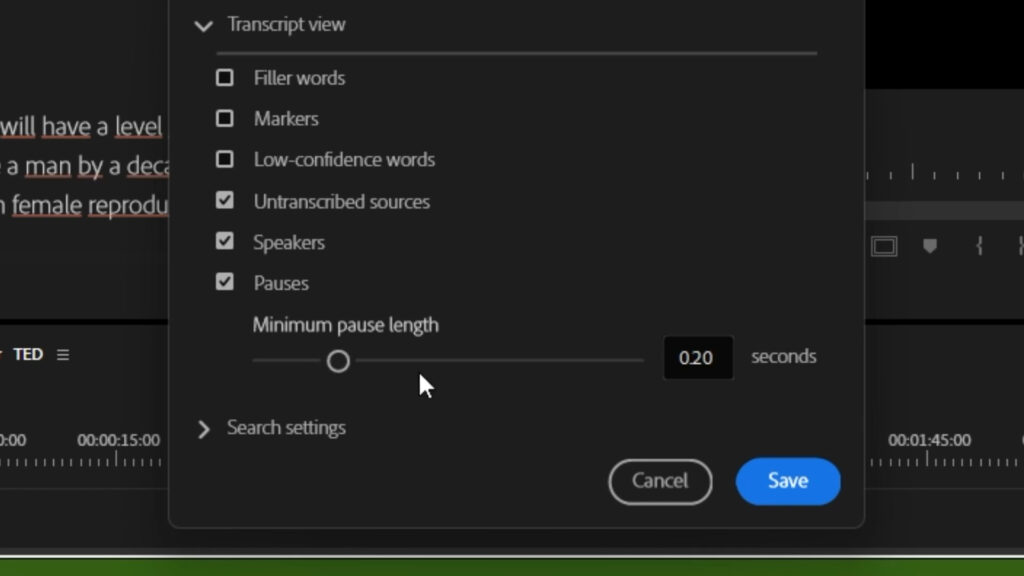
3. Adjust Minimum Pause Time
Next, click the settings icon (gear) in the Transcript panel. Here you can set the minimum pause time you want to eliminate. For example, setting it to 0.20 seconds means any silence longer than 0.20 seconds will be considered a pause ready for removal. Click Save to apply. This is a key step to ensure Premiere Pro identifies the correct pauses to delete, enabling you to Remove Silences Premiere Pro accurately.
4. Filter and Delete Silent Sections
In the Transcript panel, click the filter icon (funnel-shaped), then select Pauses. This filter highlights all silent segments in the transcript. Make sure “Extract” mode is selected, then click Delete All. Premiere Pro will automatically remove all detected silence regions in your clip, seamlessly stitching remaining audio together. This single action completes the process to Remove Silences Premiere Pro without manually trimming waveforms.
![]()
5. Review and Refine Your Audio
Play back the edited clip to verify that all unwanted silences have been removed. If certain pauses remain or if any spoken words were cut by mistake, return to the Transcript panel, adjust the minimum pause time, and delete again. Iterating these adjustments ensures you can fine-tune exactly how Premiere Pro identifies and removes silent segments, making the final audio flow naturally.
6. Benefits of Removing Silences Automatically
- Saves time by eliminating manual audio trimming.
- Maintains transcript accuracy for closed captions and subtitles.
- Creates a continuous audio experience without awkward gaps.
- Integrates seamlessly with other Premiere Pro workflows, such as adding background music or voiceovers.
By following these steps, you will efficiently Remove Silences Premiere Pro and achieve a polished, streamlined audio track ready for final mixing.
7. Additional Resources
For more Premiere Pro tips, check our Premiere Pro tutorials for workflows on audio effects, video transitions, and advanced editing techniques. If you also work with sound in After Effects, explore our After Effects guides to complement your video projects.