Creating a timelapse effect in Premiere Pro can add a dynamic and engaging touch to your videos. Whether you want to speed up a scenic shot, show a process in fast motion, or enhance storytelling, this technique is simple yet highly effective. In this guide, we’ll walk you through the quick and easy steps to create a professional timelapse effect.
Step 1: Apply the Posterize Time Effect
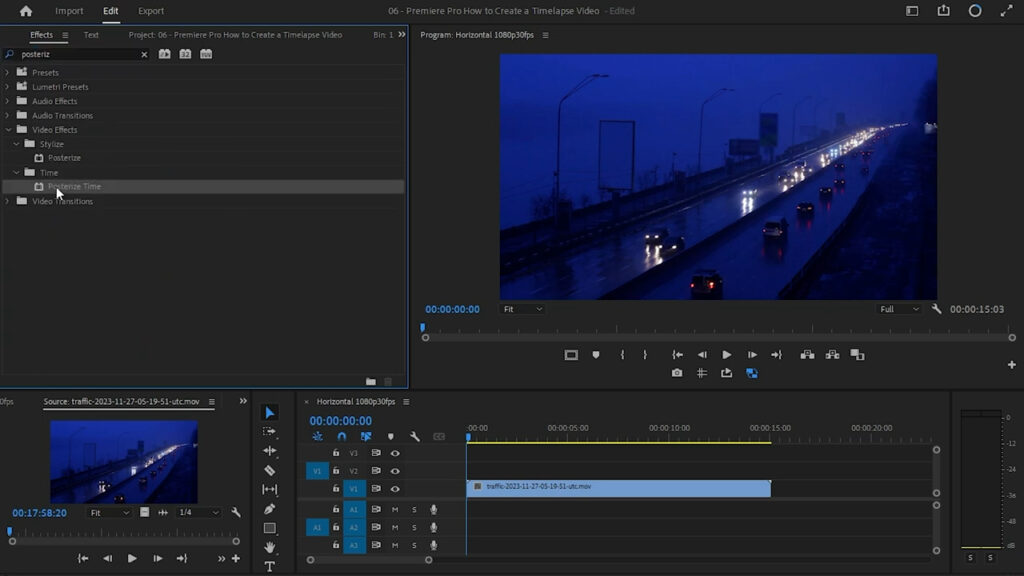
The first step to creating a smooth timelapse effect is using the Posterize Time effect. Follow these steps:
- Go to the Effects panel in Premiere Pro.
- Search for Posterize Time.
- Drag and drop the effect onto your video clip.
- In the Effect Controls panel, set the Frame Rate to 1.5.
Step 2: Adjust the Speed of the Clip
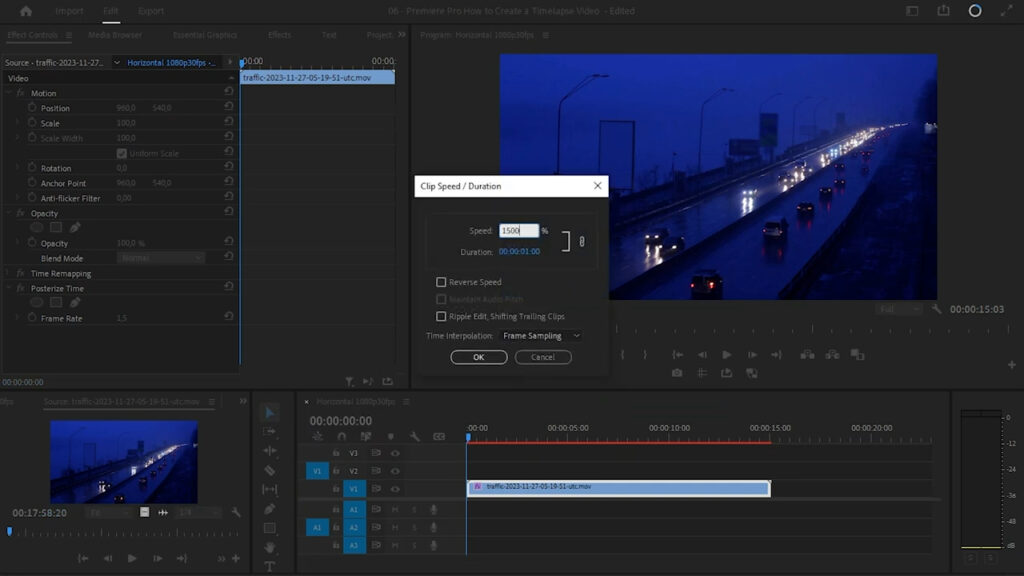
Now that the effect is applied, you need to increase the speed of the video:
- Right-click on the video clip in the timeline.
- Select Speed/Duration.
- In the Speed field, enter 1500%.
- Click OK.
This adjustment will drastically increase the playback speed, creating the desired timelapse effect.
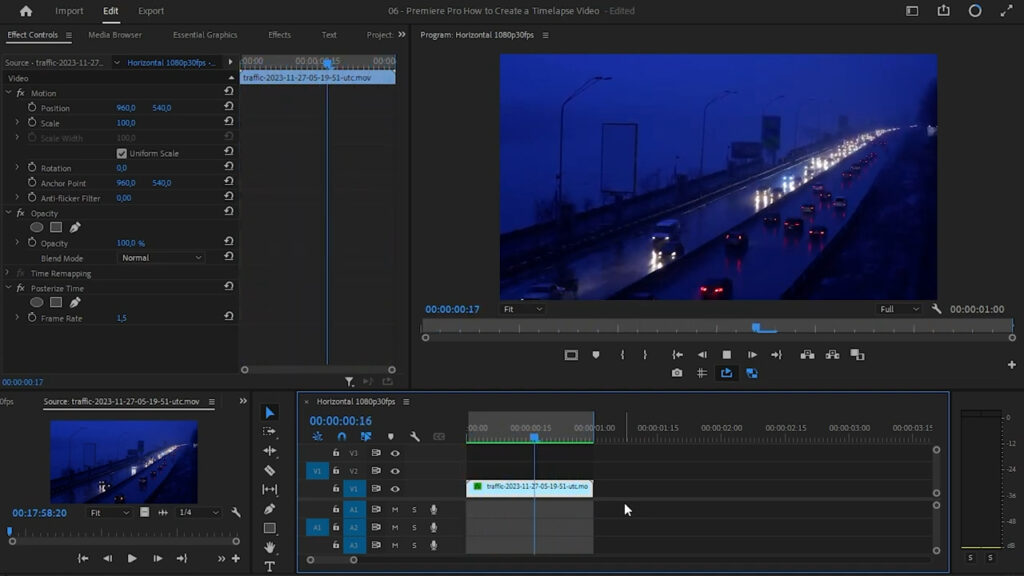
Finalizing Your Timelapse
After applying these settings, play your video to see the results. If needed, adjust the speed percentage to fine-tune the effect and achieve the perfect look.
Conclusion
Creating a timelapse in Premiere Pro is quick and easy with the Posterize Time effect and speed adjustments. Whether you’re capturing fast-moving cityscapes or condensing long events into a few seconds, this technique will enhance your video editing skills.
For more Premiere Pro tips, stay tuned to our blog!