If you frequently edit videos in Premiere Pro, creating project templates can significantly speed up your workflow. With a ready-to-use template, you won’t need to set up folders and configurations from scratch every time you start a new project. In this guide, we’ll walk you through the step-by-step process of creating and using project templates in Premiere Pro.
Step 1: Creating a New Project
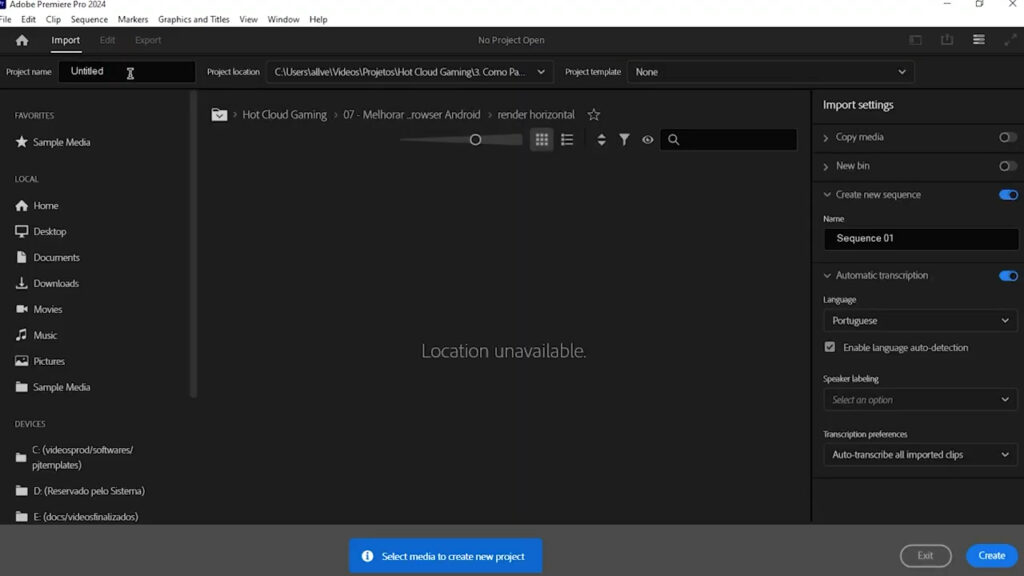
The first step is to create a project specifically for template creation. To do this:
- Open Premiere Pro and click on New Project.
- Give your project a name or leave it as “Untitled”.
- Choose a location on your PC to save the project.
- Click on Create.
Step 2: Organizing Your Project
To maintain an organized workflow, create folders for different types of media. These can include:
- Sequences
- Videos
- Audio
- Images
- Sound Effects
- Overlays
While you can create these folders within Premiere Pro, many professionals prefer setting them up in Windows and then importing them into Premiere for better control.

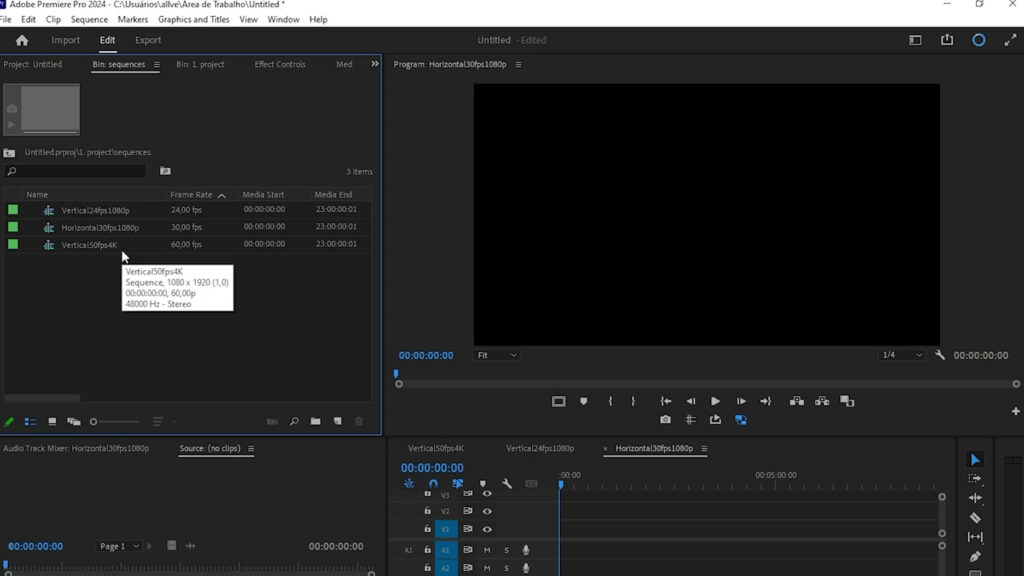
Step 3: Creating Sequences
Inside the Sequences folder, create sequences that you commonly use in your projects. For example, if you frequently edit 4K videos, you can create a sequence with those settings in advance. Renaming them properly will help you identify them quickly.
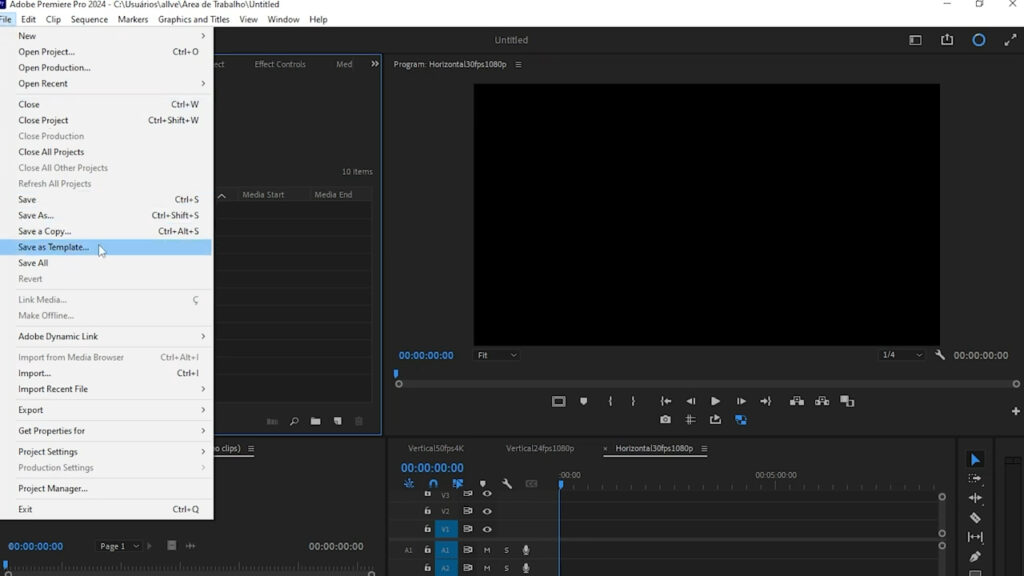
Step 4: Saving the Project as a Template
Once everything is set up, it’s time to save your project as a template:
- Go to File > Save As Template.
- Give your template a recognizable name. A good practice is to include the creation date to track updates.
- Click Save.
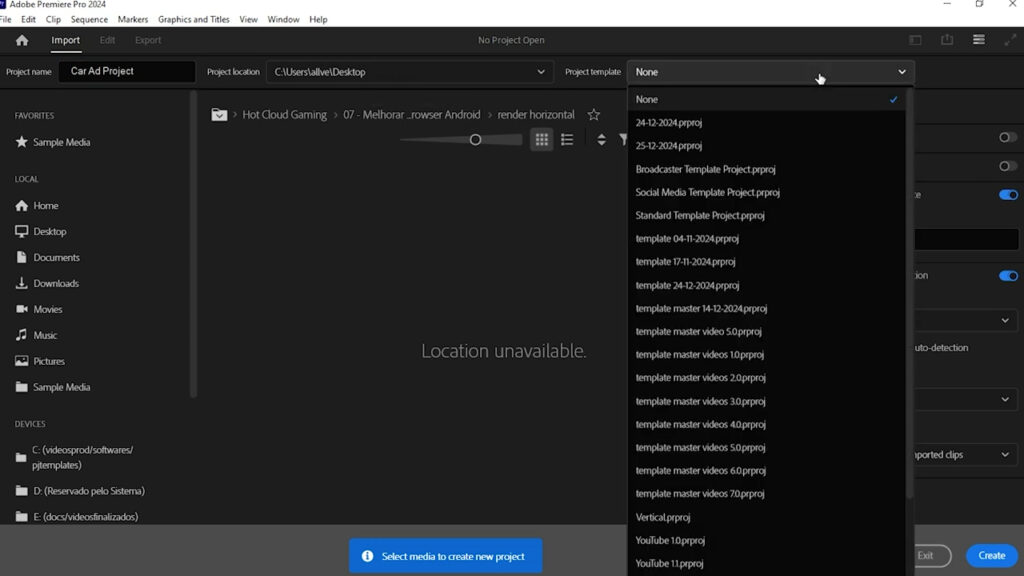
Step 5: Using Your Template in New Projects
When starting a new project, follow these steps to use your template:
- Click on New Project.
- In the Project Template section, select the template you created.
- Click Create, and all your folders and settings will be automatically applied.
This method saves time, especially if you work with recurring project structures.
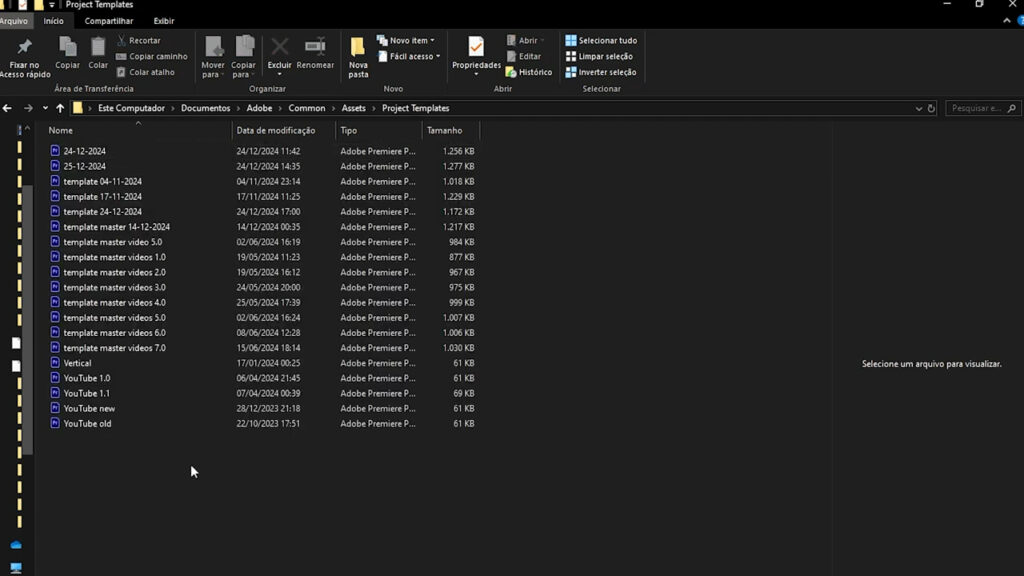
Step 6: Locating Your Templates
To find your saved templates on your computer:
- Open the Documents folder.
- Navigate to Adobe > Common > Project Templates.
- Here, you’ll see all your saved templates.
If you switch computers, simply copy and paste these templates into the same directory to retain them.
Conclusion
Using project templates in Premiere Pro is a game-changer for efficiency. By setting up a structured workflow, you eliminate repetitive tasks and focus more on creativity. Try creating your own template today and see how much time you save!
For more video editing tips and tutorials, stay tuned to our blog!