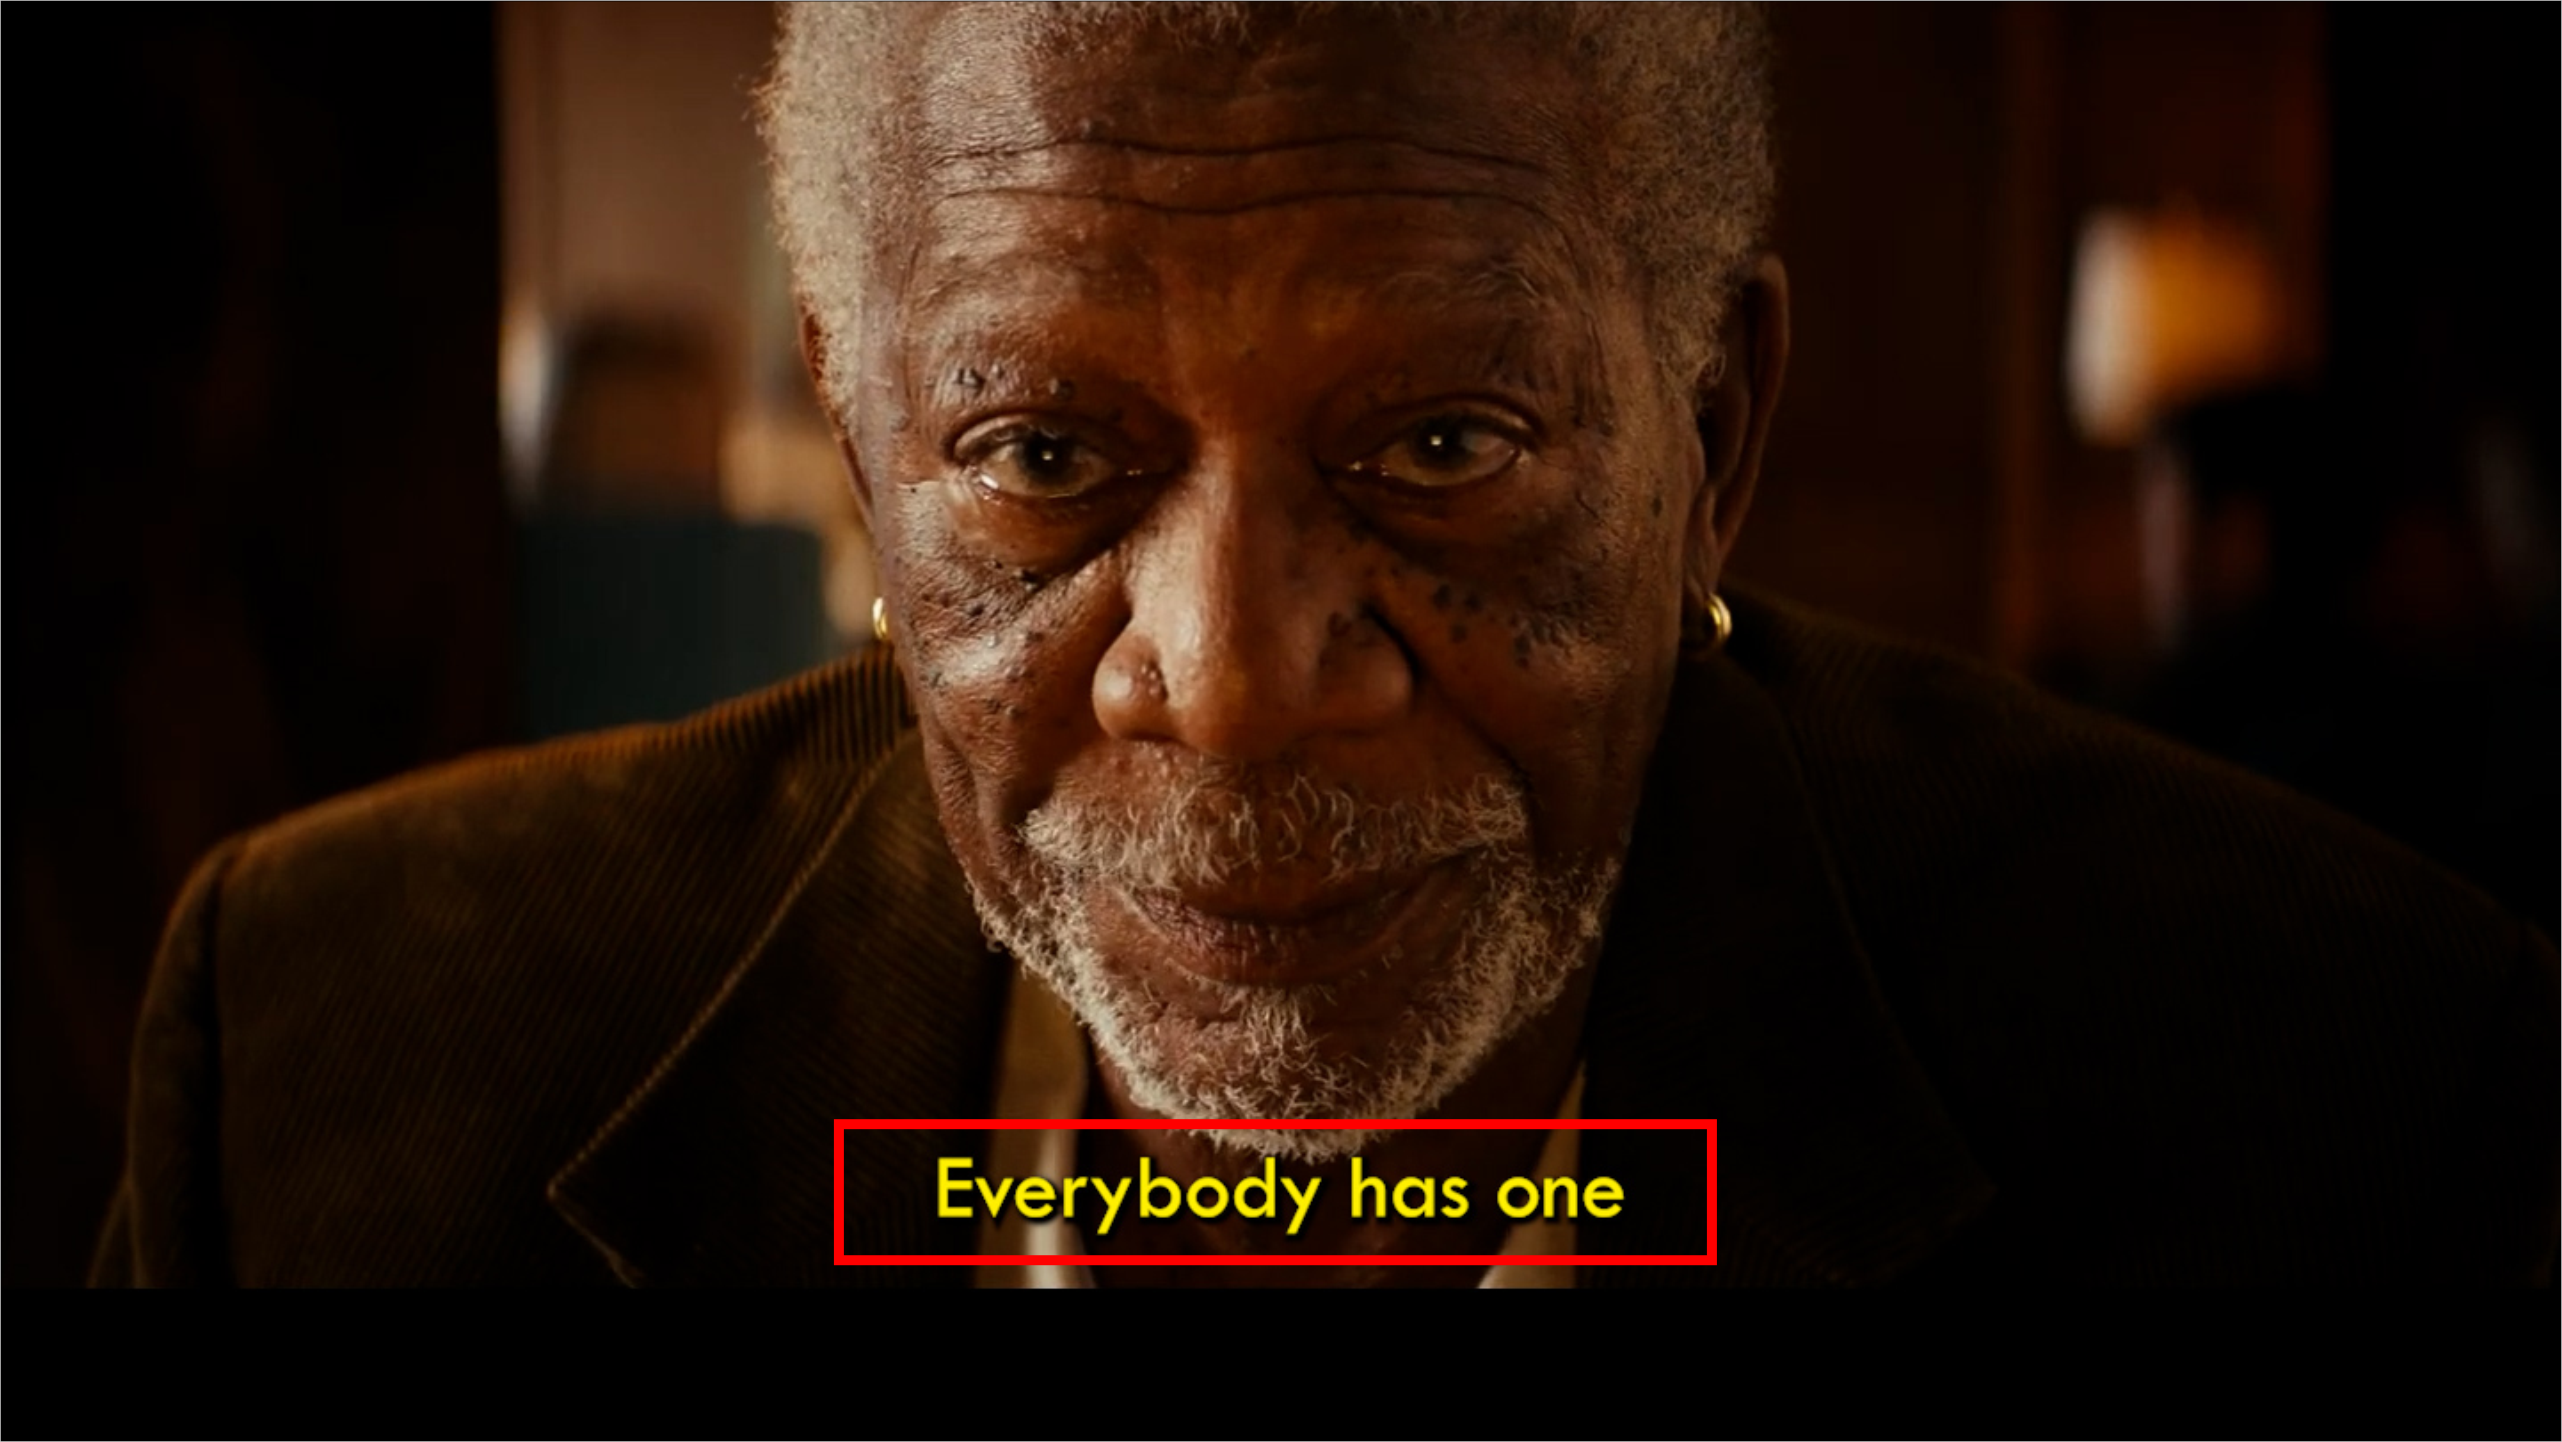
Adding subtitles in Premiere Pro 2025 can save you hours of manual work and enhance your video’s accessibility. In this tutorial, you’ll learn how to quickly add and customize subtitles using automatic transcription and closed captioning features.
Step 1: Enable Automatic Transcription
Begin by turning on automatic transcription to save time:
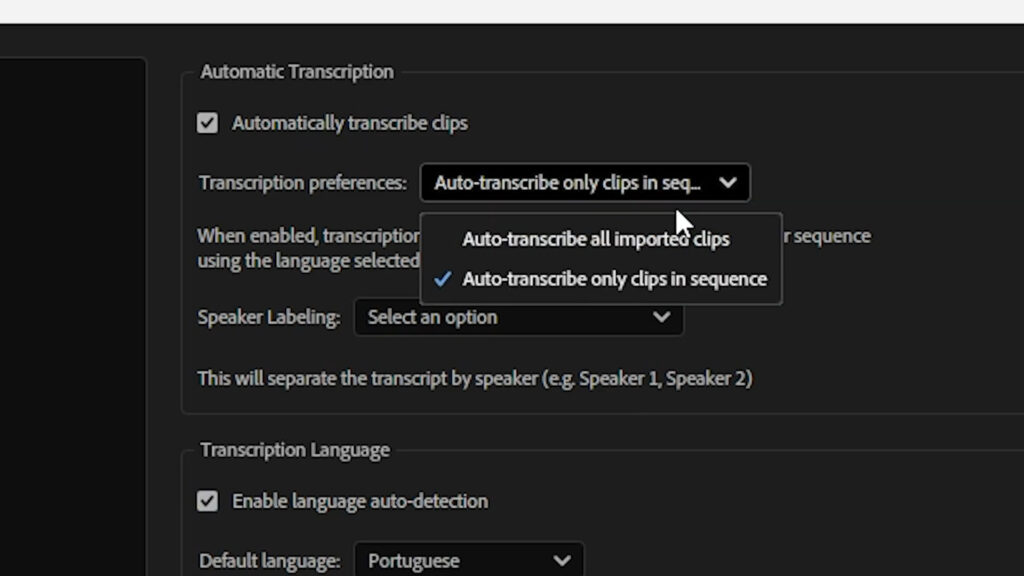
- Click on Edit, then go to Preferences and select Transcription.
- Check the Automatically transcribe clips box and choose Auto-transcribe only clips in sequence in the Transcription preferences.
- Click OK to save your settings.
Step 2: Create a Sequence and Add Your Clip
Create a new sequence and add the clip you want to caption to the timeline. Premiere Pro will automatically start transcribing the dialogue in your clip.
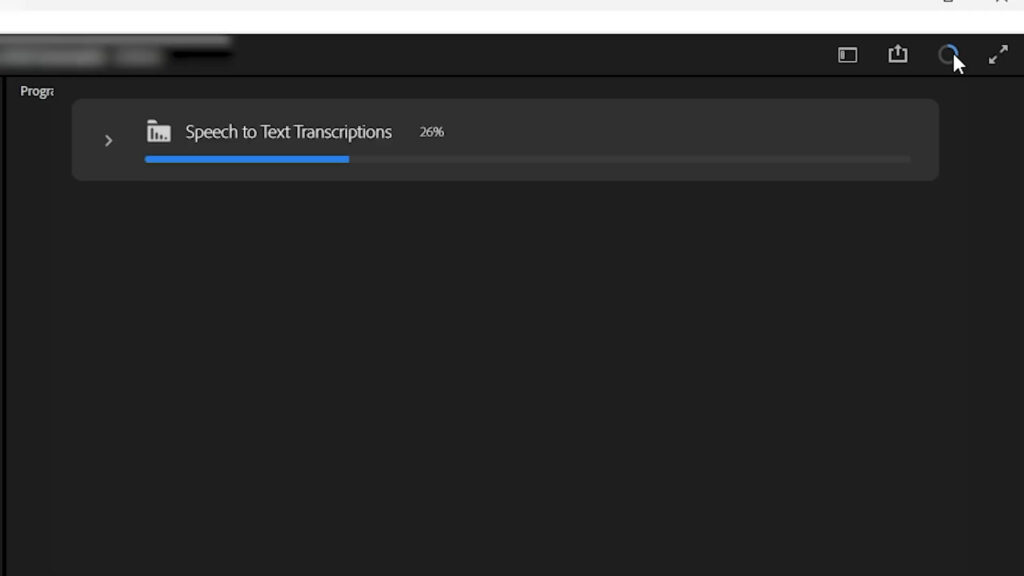
Step 3: View and Edit the Transcription
Click on the Text tab. If the tab isn’t visible, go to Window and enable Text. Then, click on the Transcript tab to review the generated transcription. If any words are incorrect, manually edit them to ensure accuracy.
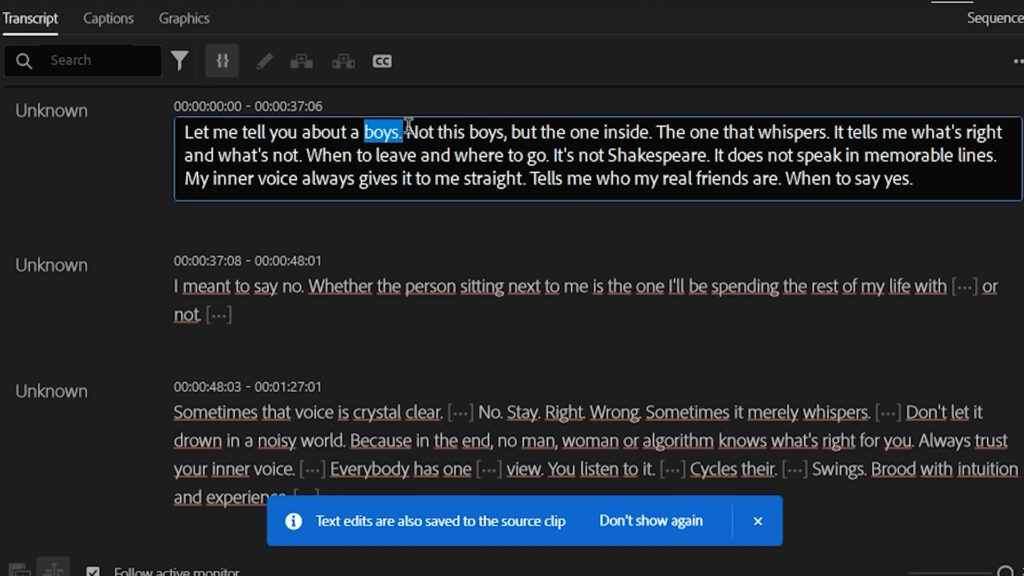
Step 4: Create and Customize Captions
Once the transcription is accurate, click on the Closed Captions icon. Leave the caption settings at the default Subtitle mode and open the Captioning Preferences tab. Here, you can pre-configure how your captions will appear – for example, selecting Single in the Lines option if you prefer one line at a time.
After reviewing your settings, click on Create captions. The transcript will now be formatted as captions, which will also appear in the Preview panel on a dedicated caption track.
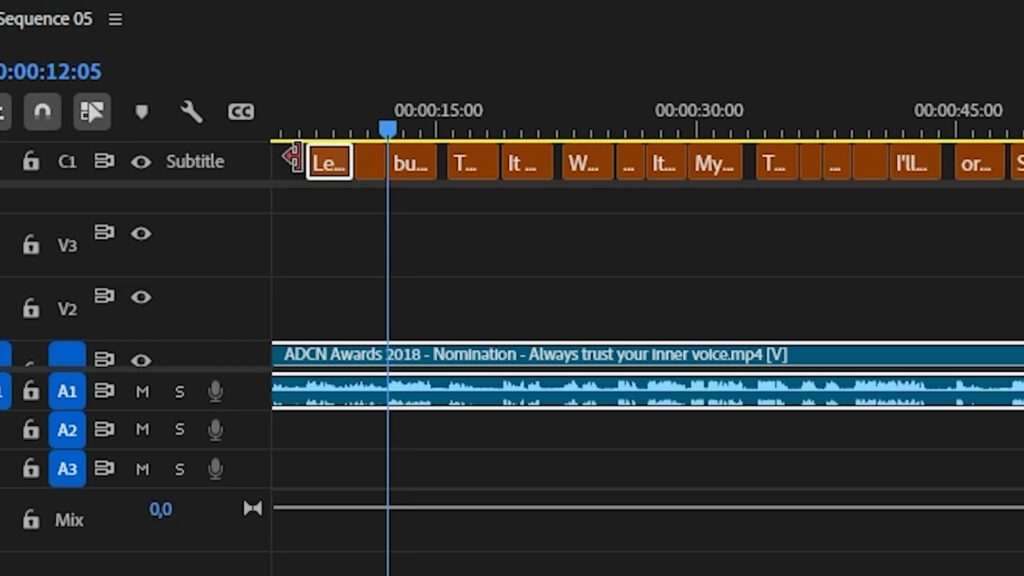
Step 5: Fine-Tune Your Captions
If you need to adjust any caption, simply double-click the specific section in the timeline. The Caption Properties panel will open, allowing you to change the font, font size, position, colors, stroke, background, and shadow. When you’re satisfied with the look, click the Redefine Style button and select All Captions on Track to apply the changes universally. You can also save this style for future projects by clicking the + button, naming your style, and clicking Create Style.

Conclusion
By following these steps, you can efficiently add and customize subtitles in Premiere Pro 2025, making your videos more accessible and engaging. For more tutorials on Premiere Pro, check out our Premiere Pro Tutorials section.
