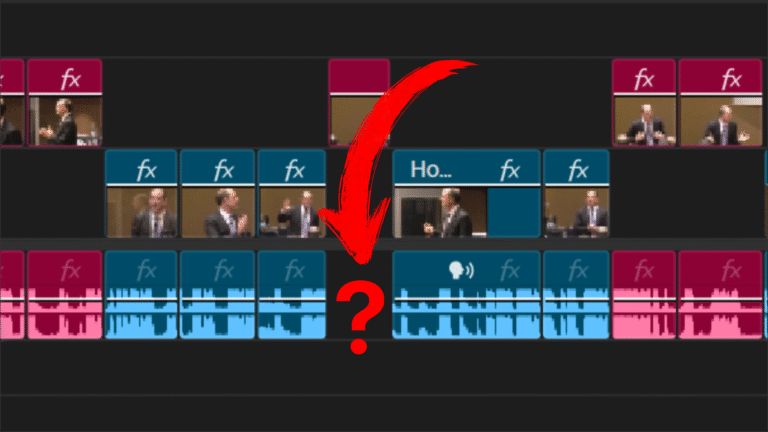
Understanding how to work with the waveform in Premiere Pro can drastically improve your editing precision. Whether you’re syncing audio or identifying peaks, knowing how to adjust waveform views gives you more control in your timeline.
1. Centered Waveform (Default)
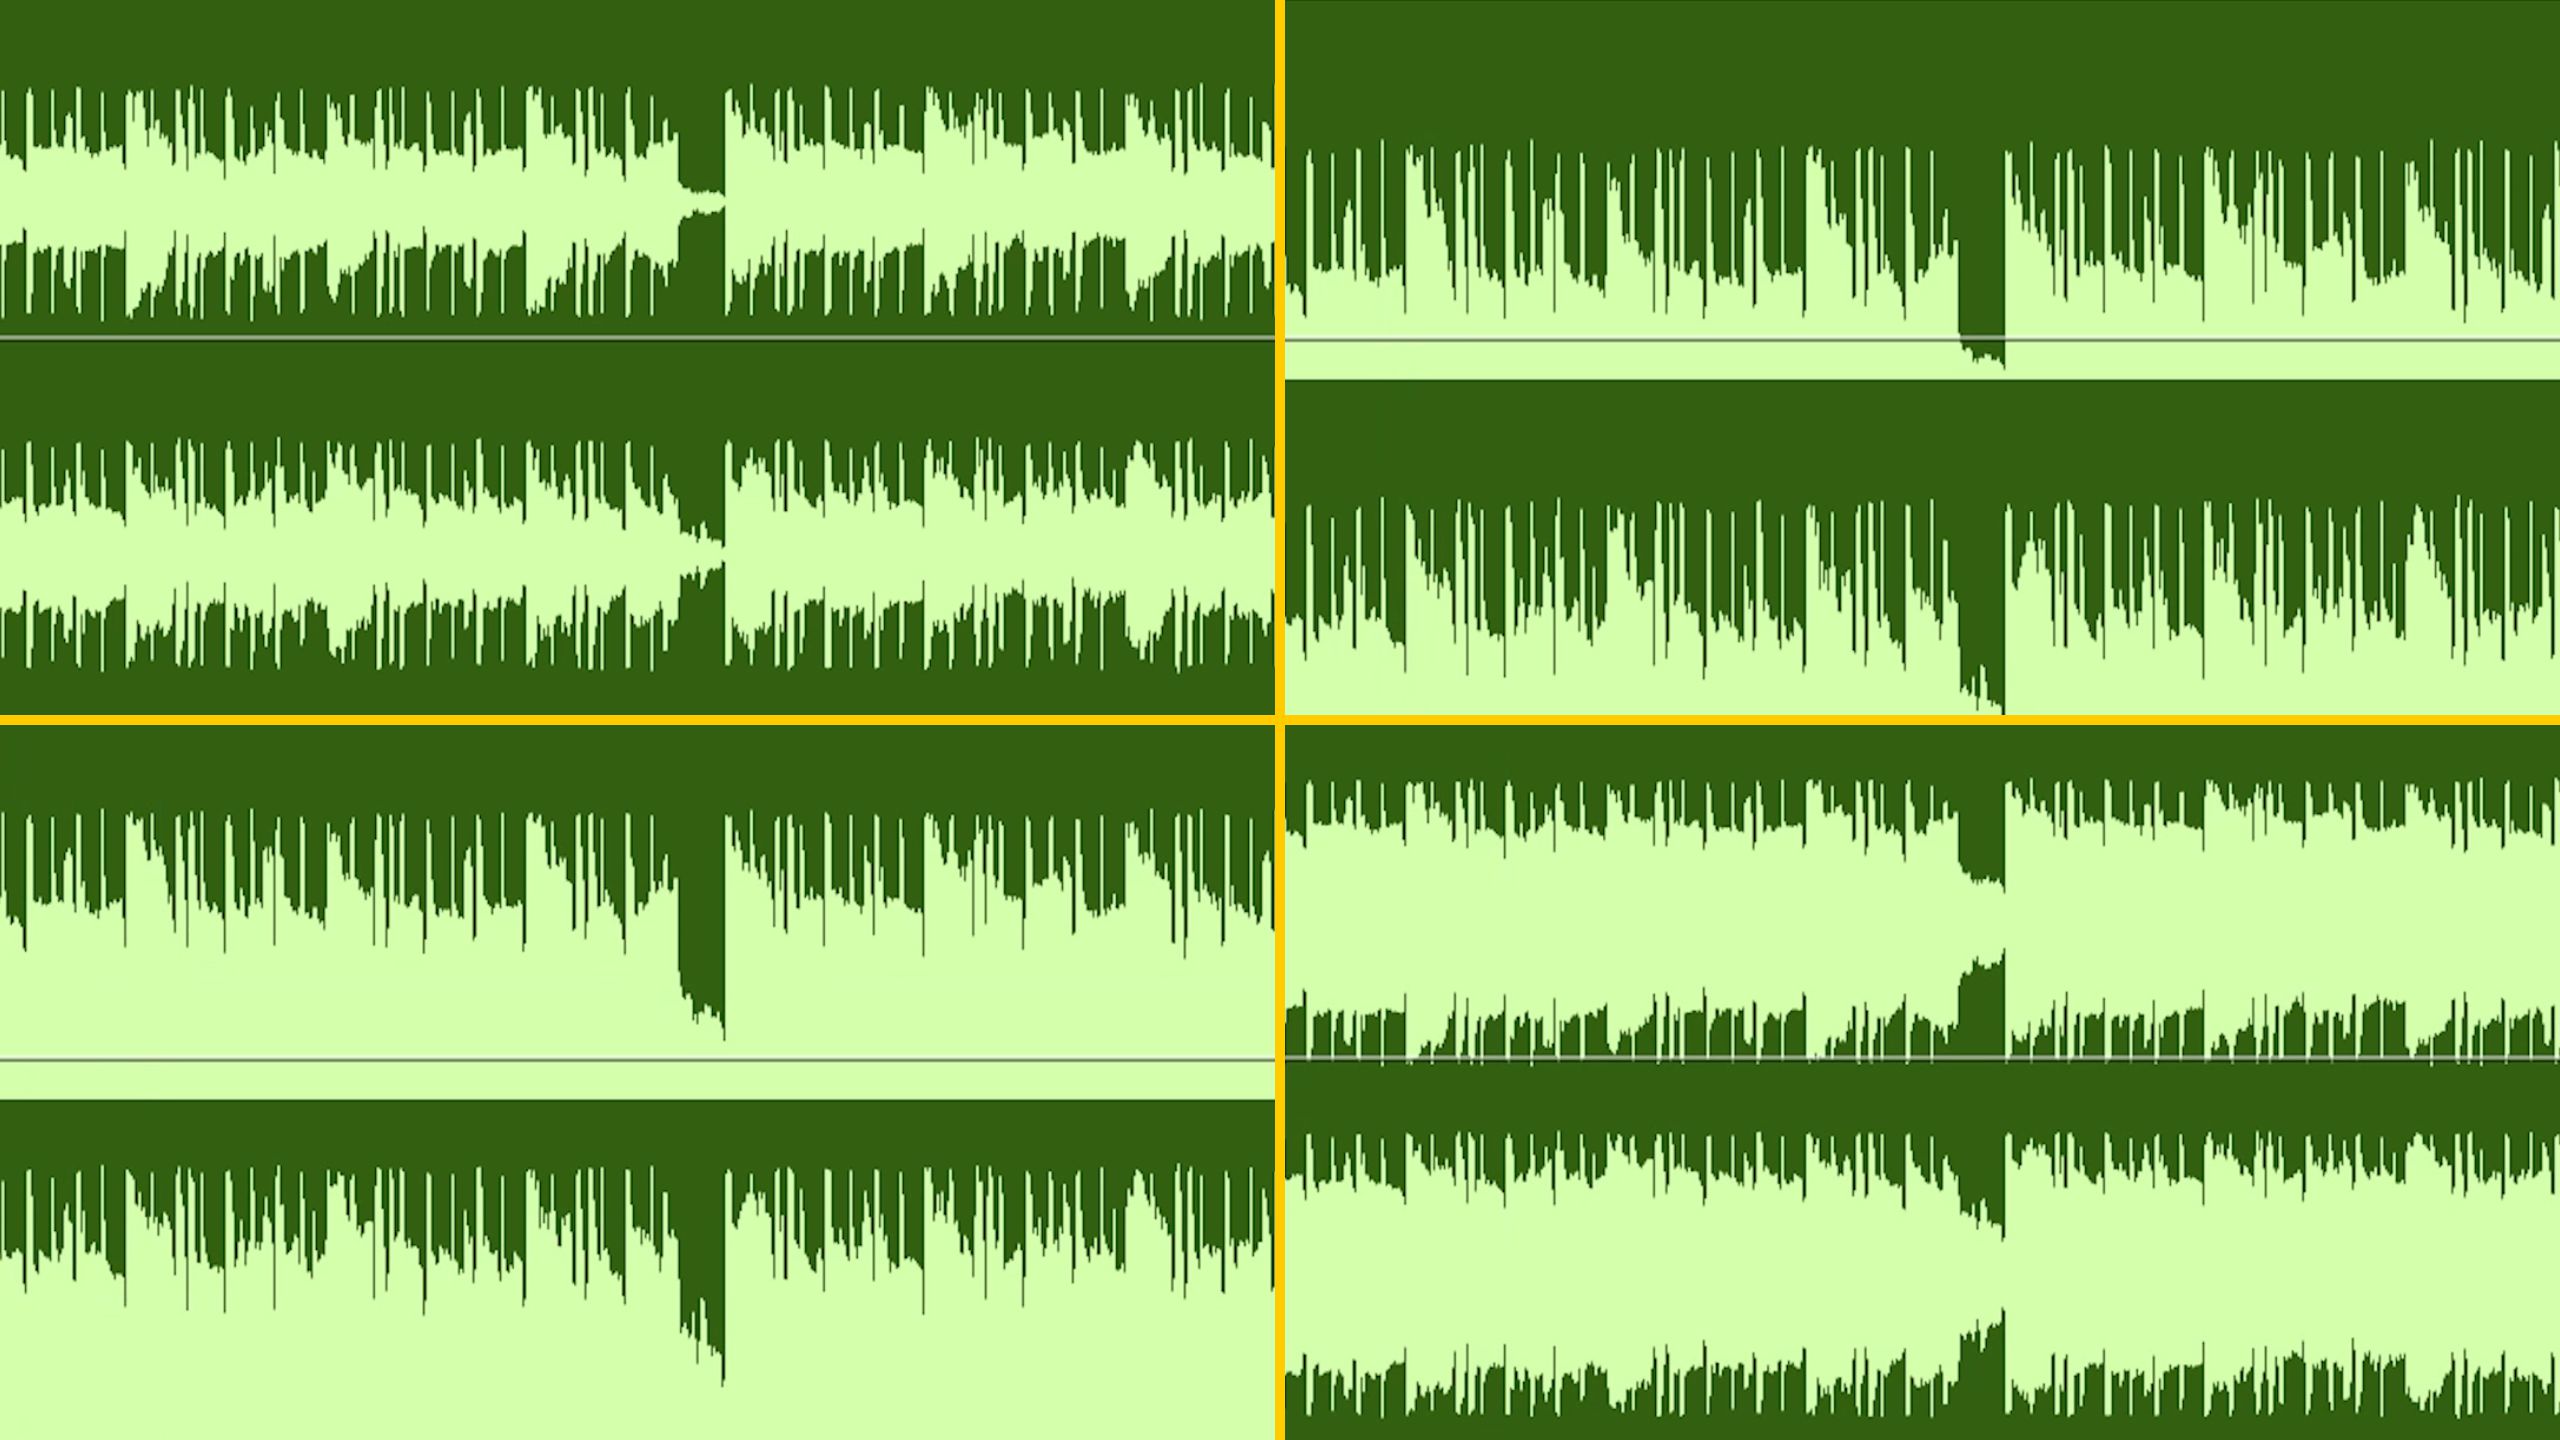
When you first import audio clips, the waveform in Premiere Pro appears centered by default. This format shows both positive and negative amplitudes, which is standard for most editors.

2. Rectified Audio Waveform
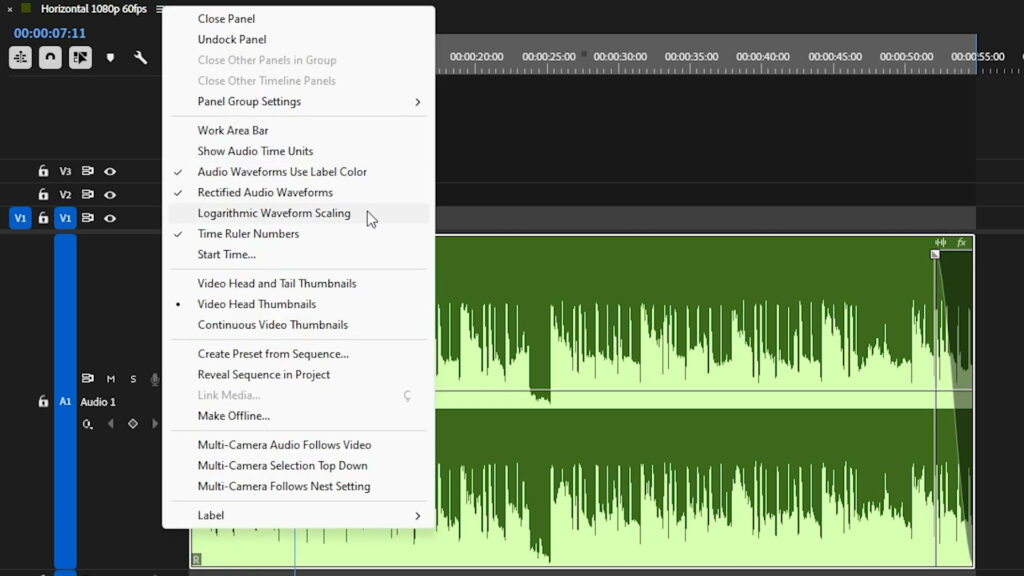
To change to a rectified view, click on the hamburger menu in your sequence tab and select Rectified Audio Waveform. This adjustment modifies the waveform in Premiere Pro to only display the positive side of the wave.
This cleaner view helps when you’re primarily working with loudness and don’t need the full bipolar waveform display.
3. Logarithmic Waveform Scaling
If you’re having trouble seeing subtle volume changes, enable Logarithmic Waveform Scaling. This boosts the visual scale of quieter sounds in the waveform in Premiere Pro, making peaks and dips more noticeable.
4. Combine Centered View with Log Scaling
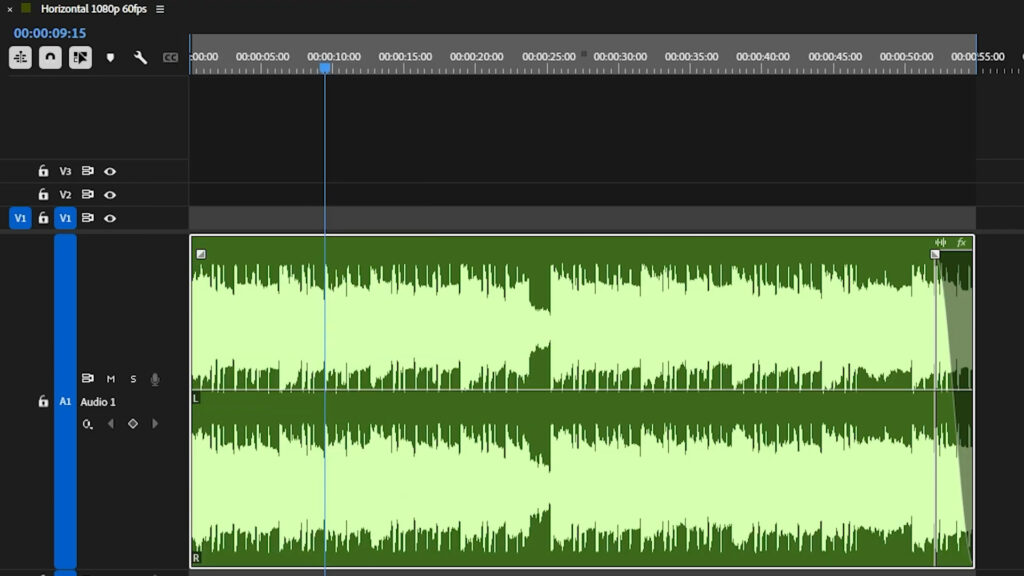
For enhanced clarity, disable Rectified Audio Waveform while keeping logarithmic scaling on. This combination offers a full view of both peaks and valleys, improving your audio editing workflow analysing the audio wave in Premiere Pro.
Further Learning and Tools
If you want to explore more about visualizing sound and editing techniques, check out our full guides on Premiere Pro and After Effects. Also, the official Adobe documentation offers in-depth details on working with audio in Premiere Pro.