In this Audio Ducking Premiere Pro tutorial, you will learn how to automatically reduce music volume when dialogue is detected. By leveraging the Essential Sound panel’s ducking feature, you can create professional-sounding mixes without tedious manual keyframe work. Follow these clear steps to tag your tracks, activate ducking, and generate volume keyframes in seconds.
1. Tag Your Dialogue Tracks
First, open the Essential Sound panel via Window → Essential Sound. Then select each track that contains speech. In the panel, click Clear Audio Type if needed, and choose Dialogue to tag those clips. Tagging dialogue correctly ensures that Premiere Pro will duck music against those tracks.
2. Configure the Music Track for Ducking
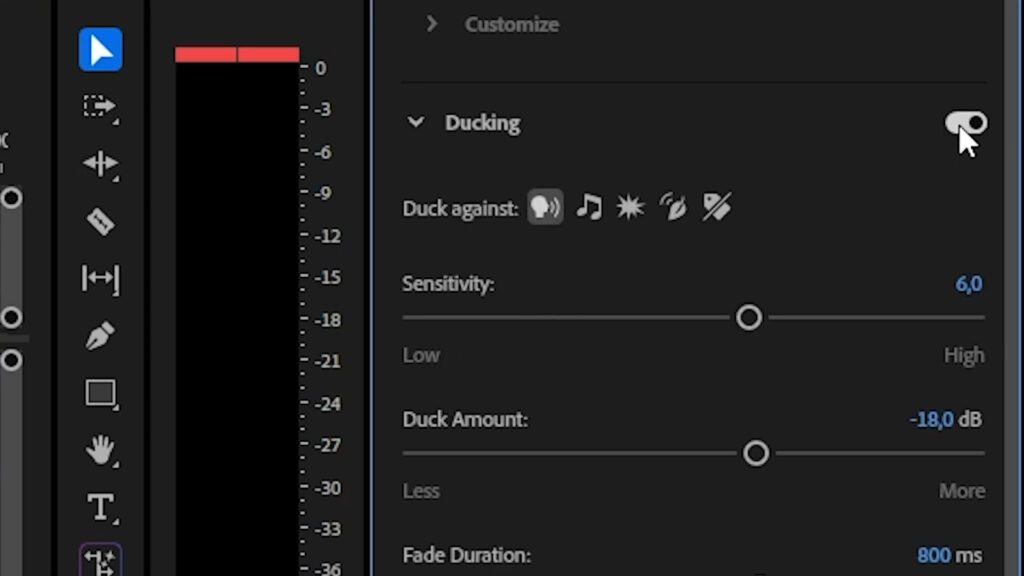
Next, select your music track in the timeline. In the Essential Sound panel, scroll to the Ducking section. Enable the Ducking checkbox and confirm that Dialogue appears under “Duck Against.” This step tells Premiere Pro which audio to prioritize when ducking occurs.
3. Generate Keyframes Automatically
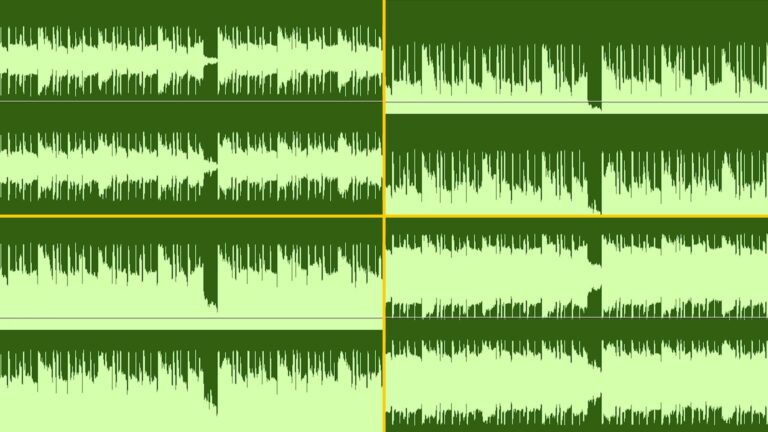
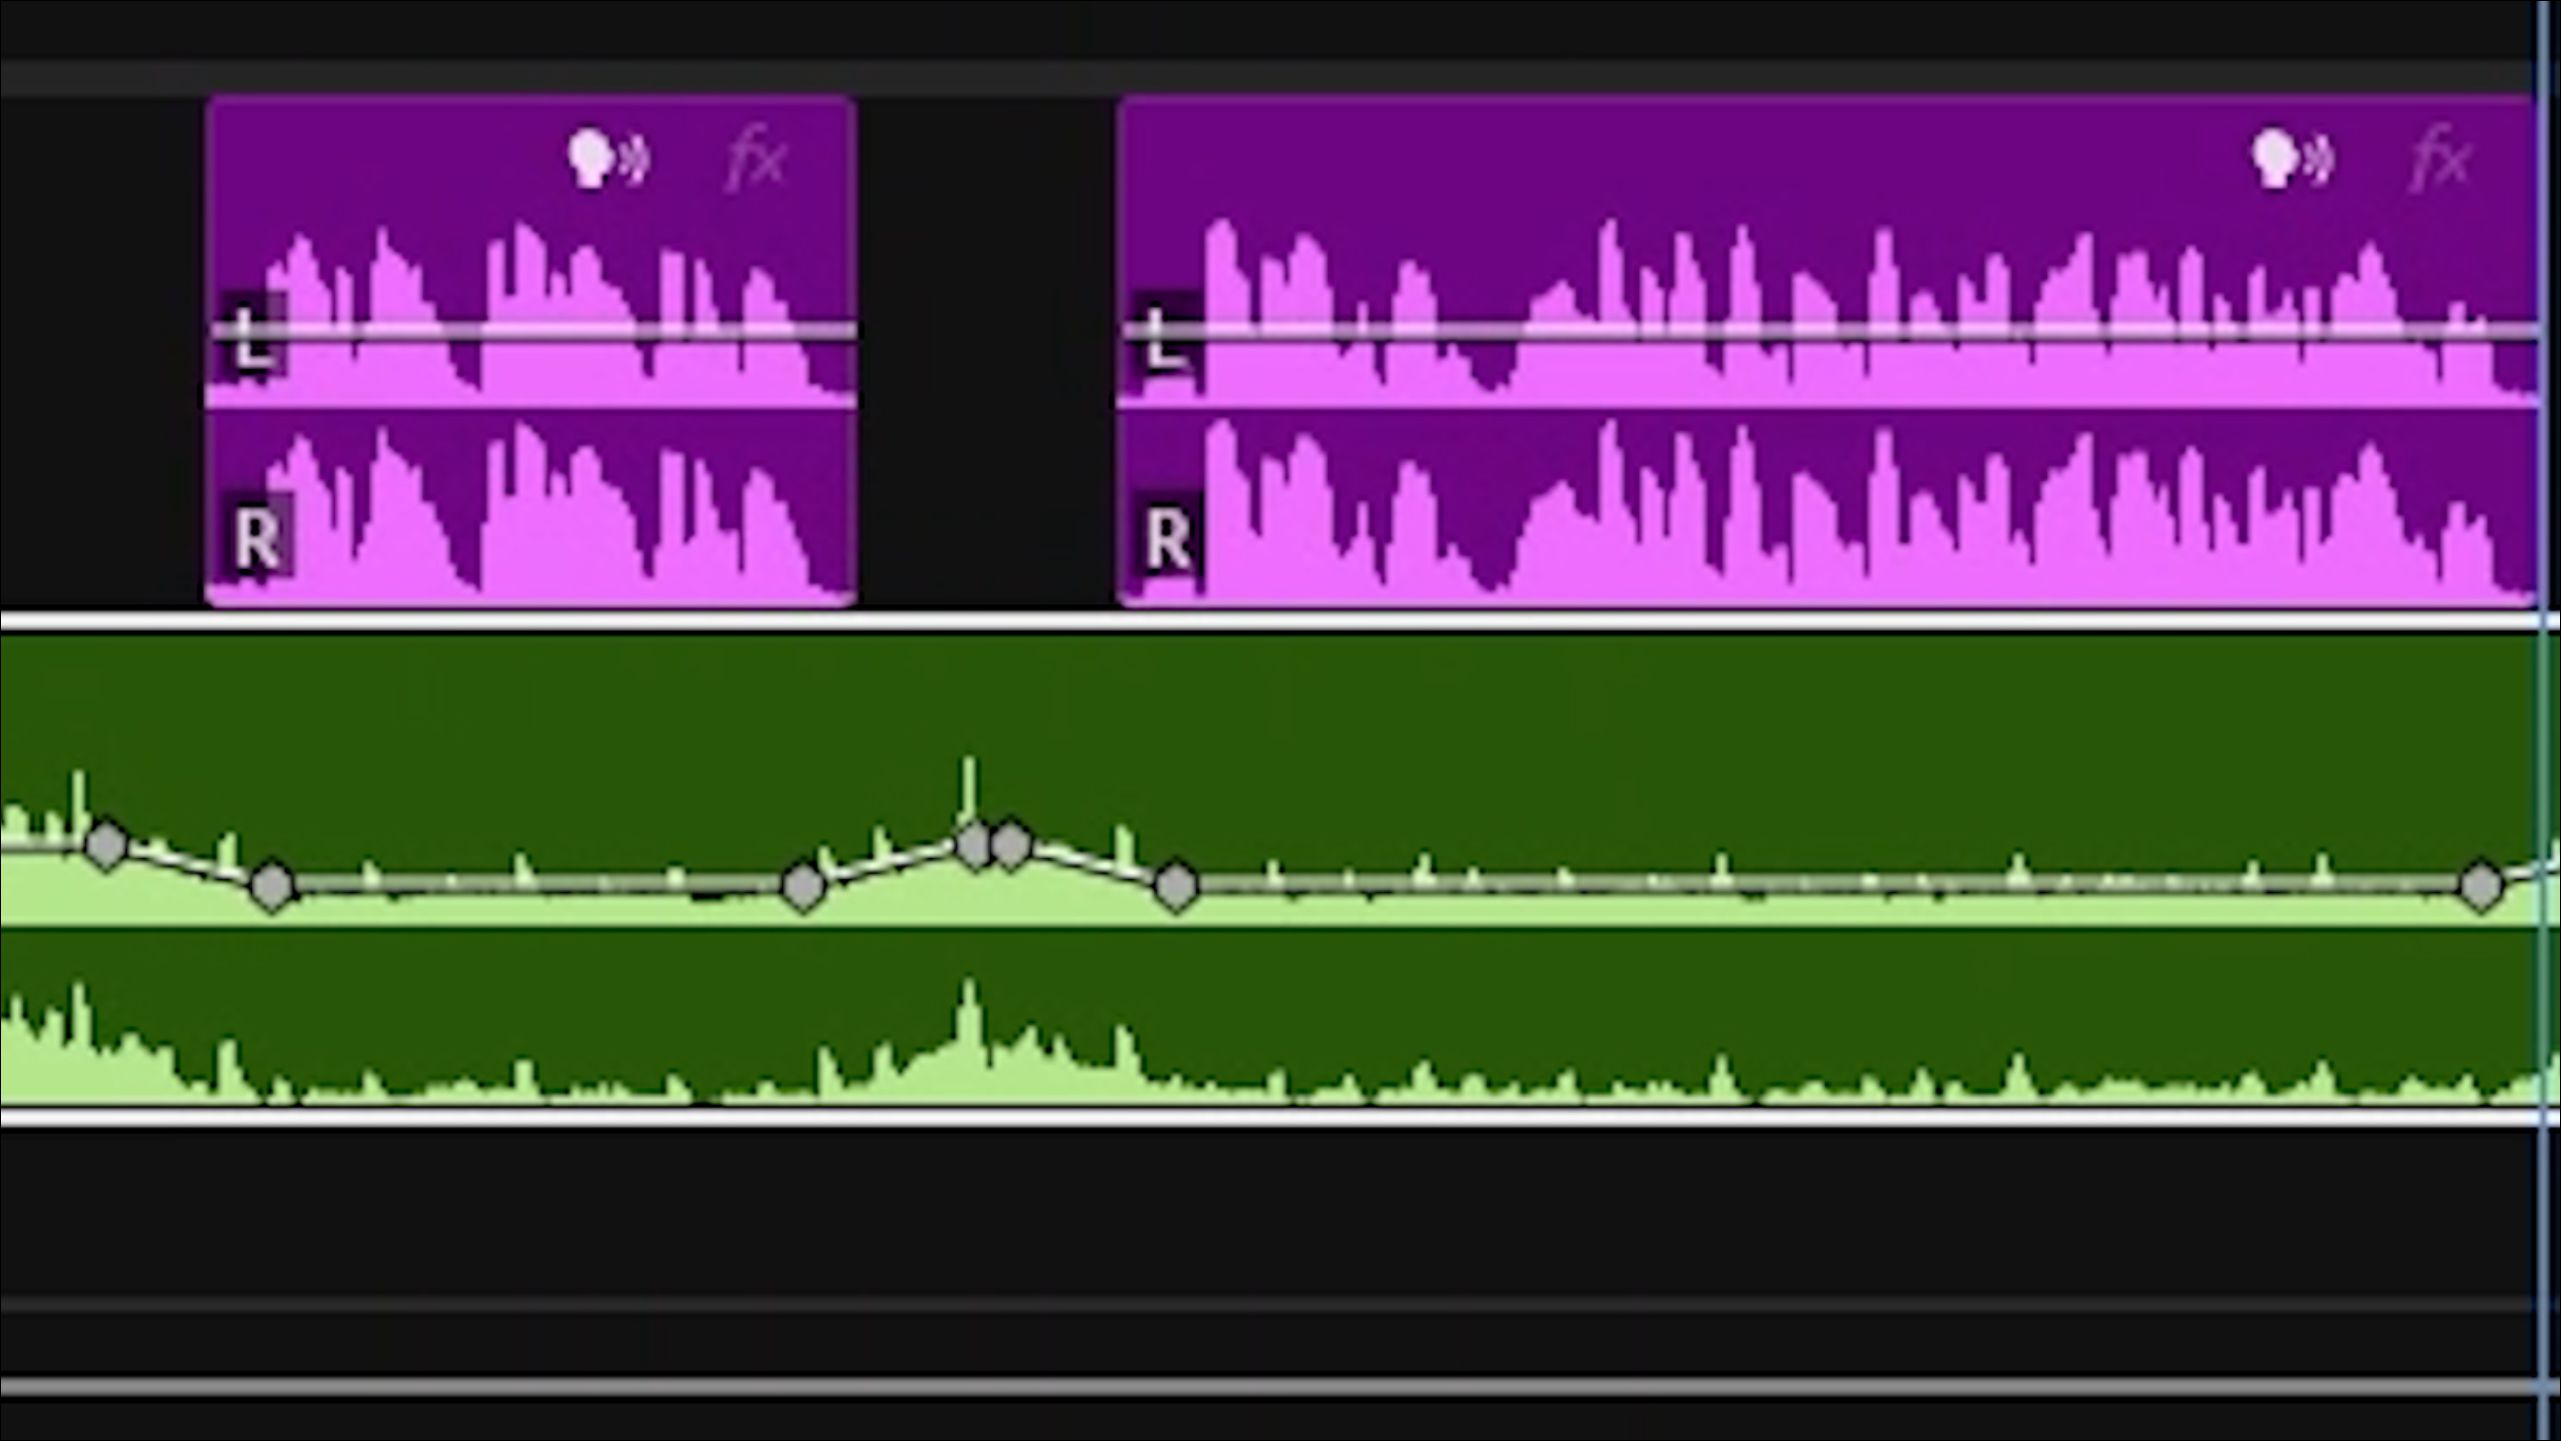
With settings in place, click Generate Keyframes. Premiere Pro analyzes your sequence and adds volume keyframes to the music track. Listen back to confirm that music dips under dialogue. If the timing or depth feels off, adjust the Ducking sensitivity or gap settings, then click Generate Keyframes again to refine the effect.
4. Fine-Tuning Your Ducked Audio
You can tweak keyframes manually for perfect results. Drag keyframe handles to adjust fade-in or fade-out times. Use the Essential Sound panel’s sliders to control how much the music dips and how quickly volume returns after speech ends. These adjustments help you achieve a natural balance.
Common Issues and Solutions
Sometimes, ducking may create abrupt volume changes. To smooth transitions when using Audio Ducking Premiere Pro, adjust the “Sensitivity” and “Reduce By” sliders in the Essential Sound panel. Increasing the “Fade Out” duration helps avoid sudden dips, while fine-tuning the “Fade In” ensures music returns naturally. If you notice clipping or artifacts, render the sequence at full quality or switch your audio hardware preferences to a higher buffer size. These tweaks guarantee a polished mix without distracting volume jumps.
Further Resources
Now that you know Audio Ducking Premiere Pro, explore more advanced audio tips in our Premiere Pro tutorials. For deeper reading, visit Adobe’s Essential Sound panel documentation.