Trim and cut videos efficiently is crucial for video editors using Premiere Pro 2025. In this guide, we’ll walk through 11 expert tips and shortcuts to enhance your workflow.
1. Enable Selection Follows Playhead
By default, the playhead does not select events in the timeline. Go to Sequence and enable Selection Follows Playhead to automatically select clips under the playhead, making trimming faster.
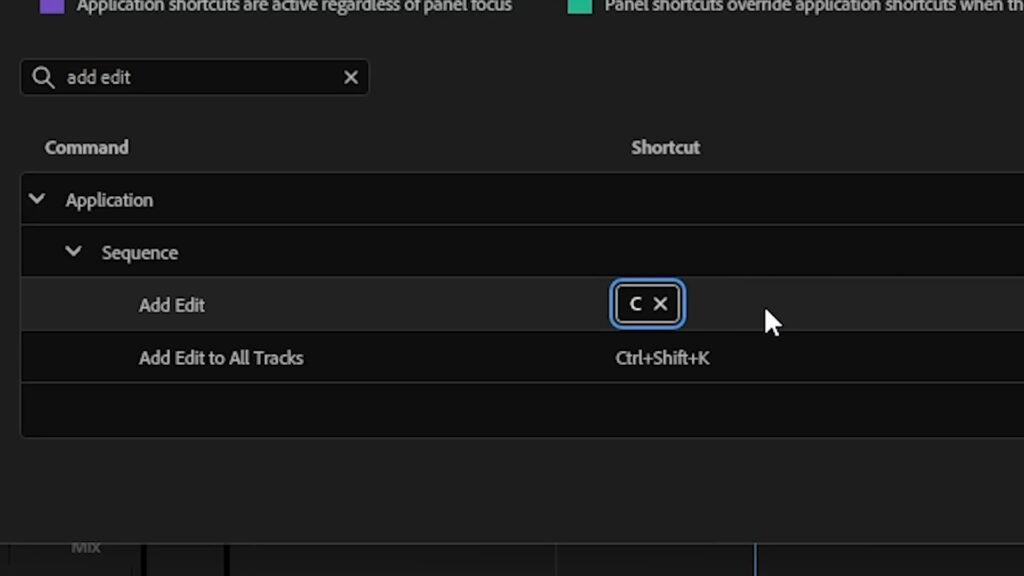
2. Assign Add Edit Shortcut to “C”
By default, “C” activates the Razor Tool. For a quick cut, open Keyboard Shortcuts (Ctrl + Alt + K), search for Add Edit, and assign it to “C” while removing “Ctrl + K” from this function.
3. Remove Unnecessary Cuts
To identify unnecessary cuts, click the tool icon and enable Show Through Edits. Unneeded cuts appear with white triangles. Click a cut to highlight it in red and press Delete. Hold Shift to delete multiple cuts at once.
4. Use Ripple Trim (Q & W)
Speed up editing using Ripple Trim shortcuts:
- Q: Deletes everything to the left of the playhead.
- W: Deletes everything to the right.
These shortcuts work only when a clip is selected.
5. Set Up a Ripple Delete Shortcut
By default, Ripple Delete is Shift + Delete. To streamline, open Keyboard Shortcuts (Ctrl + Alt + K), assign Z to Ripple Delete, and remove the existing shortcut. Now, pressing Z removes selected clips and closes the gap.

6. Remove All Gaps Instantly
Instead of deleting gaps one by one, go to Sequence > Close Gap to remove all gaps at once.
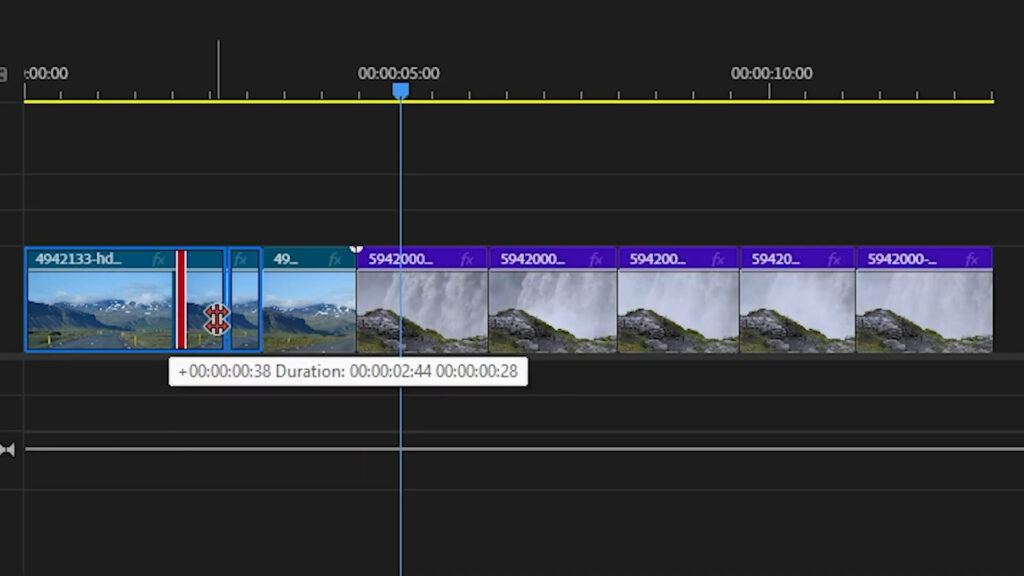
7. Trim with Ripple Edit Tool (B)
The Ripple Edit Tool (B) lets you shorten or lengthen clips while closing gaps automatically. Click and drag the clip’s edge to adjust.
8. Adjust Cut Points with Rolling Edit Tool (N)
The Rolling Edit Tool (N) moves an edit point without changing the overall project duration.
9. Extend Clips with Rate Stretch Tool (R)
To fill gaps by stretching clips, use the Rate Stretch Tool (R). Dragging extends or shortens the clip while changing its speed.
10. Adjust In/Out Points with Slip Tool (Y)
The Slip Tool (Y) changes the in/out points of a clip without moving its position in the timeline.
11. Reposition Clips with Slide Tool (U)
The Slide Tool (U) shifts a clip while keeping its duration intact and adjusting adjacent clips.
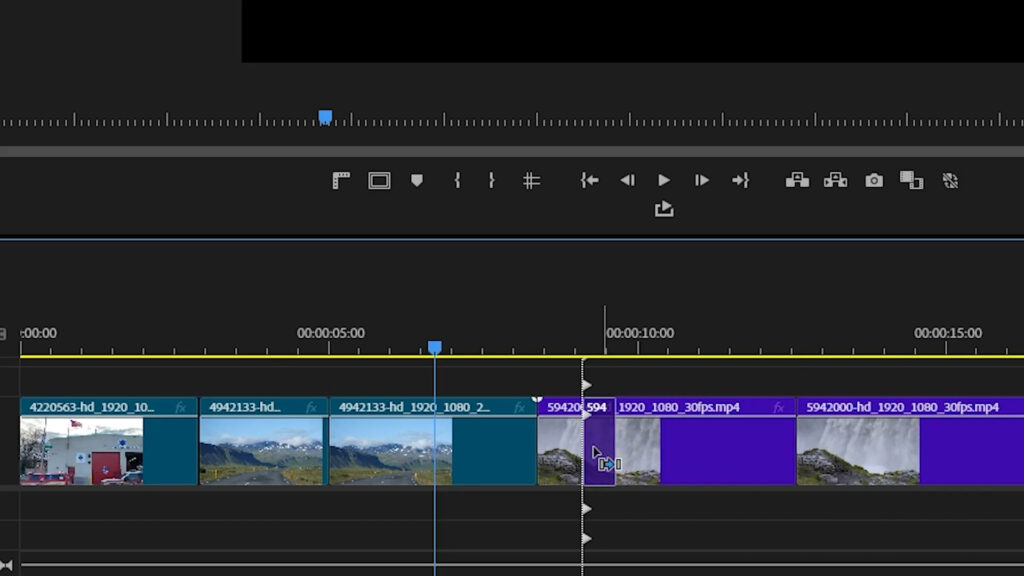
Bonus Tip: Swap Clips Easily
To rearrange clips quickly, hold Ctrl, drag the clip to a new position, and Premiere Pro will automatically adjust the timeline.
Related Articles
External Resources
Mastering these trim and cut techniques in Premiere Pro will significantly improve your editing speed and precision. Try them out and streamline your workflow today!